Another LED Matrix Display
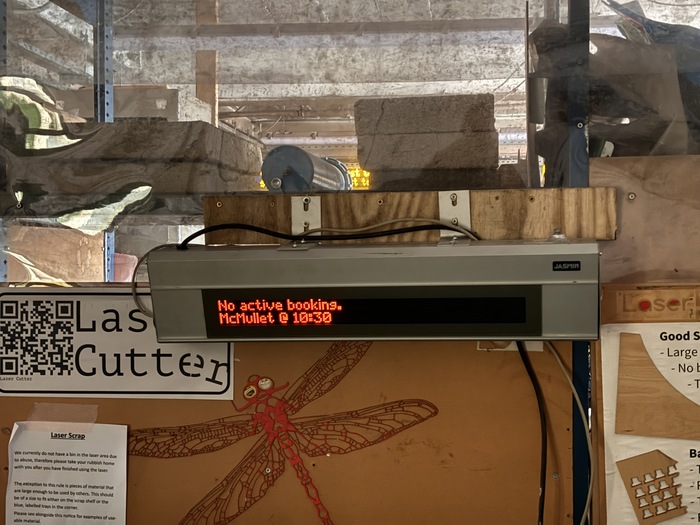
There's been an ex-train LED matrix display sitting next to the Nottingham Hackspace LED cutter since 2015-ish. This is a 16x192 display, perfect for displaying two lines of text. Daniel put it together to show the current and next laser booking - useful information if you wanted to hop on the laser for a quick job. At some point over the past year or two, it fell off the cabinet it was sitting on and developed some internal faults. I managed to get it running again, but the Arduino Due it was based around kept resetting and forgetting it's program. I managed to partially fix this by adding a resistor across the erase transistor, but it was still going weird.
The display uses quite an odd protocol which I've not investigated much. Unlike the departure board, it doesn't have separate row address lines and instead only has data and clock lines. The first byte indicates which row to draw, followed by a bit for each row. It also uses differential signalling - with a high and low line for both the clock and data signals.
Credit to Daniel - he figured out how to drive the display, all I did
was make a new circuit board for it (and re-write all the code…). The
first nibble of the row address byte contains inverted row number, and
the second nibble contains the row. This is done with Daniel's
encode_row function:
byte encode_row(byte row) {
  byte enc_row = 0;
  byte nibble1, nibble2;

  nibble1 = row;
  nibble2 = ~row & 0x0F;

  enc_row = nibble1;
  enc_row |= ((nibble2 << 4) & 0xF0);
  return enc_row;
}
I have no idea why it's encoded like this - maybe for error detection? As mentioned before, the bits are sent with differential signalling, so double error detection (or at least, avoidance…). I'm wanting to do a very similar 32 row display soon and wondering how this row addressing will work there.
The bits are pushed out using an ISR which I'm calling 2000 times per second, each time pushing one row. This means it's running at around 125 frames per second.
void drawRowISR(timer_callback_args_t __attribute((unused)) * p_args) {
  volatile uint8_t* ptr;

  byte rowIdx = encode_row(row);
  for (int i = 0; i < 8; i++) {
    byte b = (rowIdx << i) & 128;
    WRITE_BIT(b);
  }

  for (int col = 0; col < WIDTH; col++) {
    ptr = &rawBuffer[(col / 8) + row * ((WIDTH + 7) / 8)];
    byte b = ((*ptr) & (0x80 >> (col & 7))) != 0;
    WRITE_BIT(b);
  }

  row++;
  if (row == 16) row = 0;
}
It's pretty simple anyway. WRITE_BIT is one of several
macros I use to bit bang things on an ARM based Arduino. It just sets
the data line and pulses the clock line. To handle the differential
signalling, I'm using a 74HC14 hex inverter chip, which conveniently
also handles the level shifting from 3.3V to 5V.
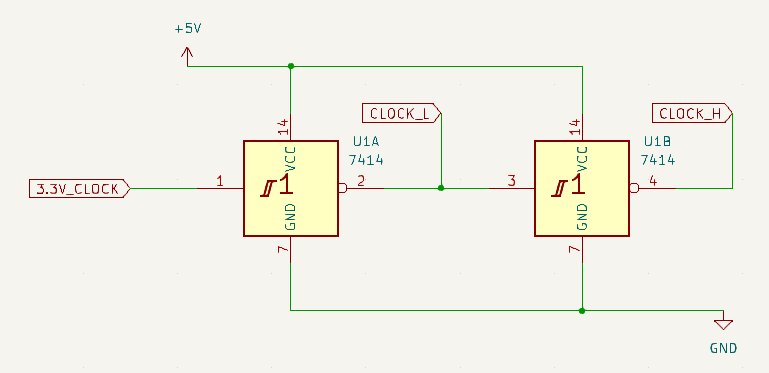
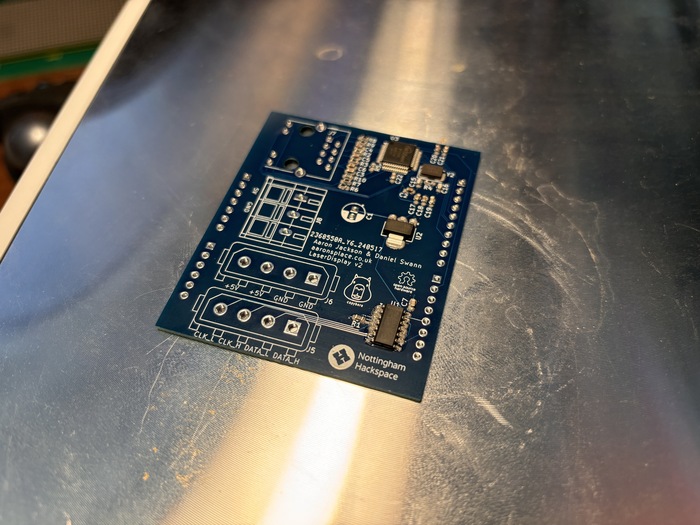
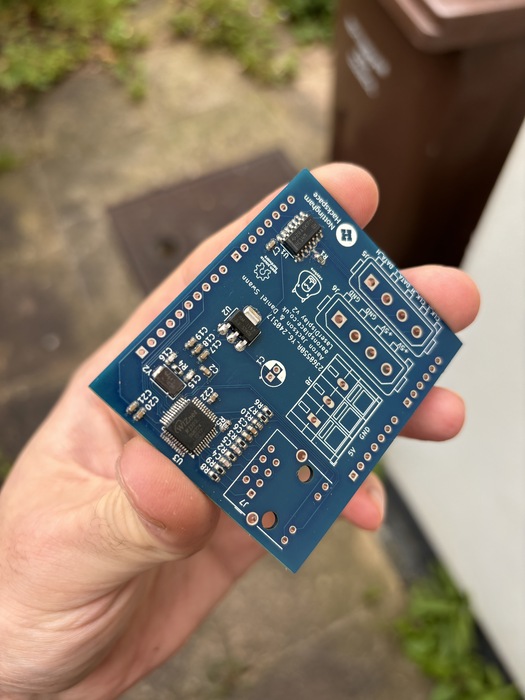
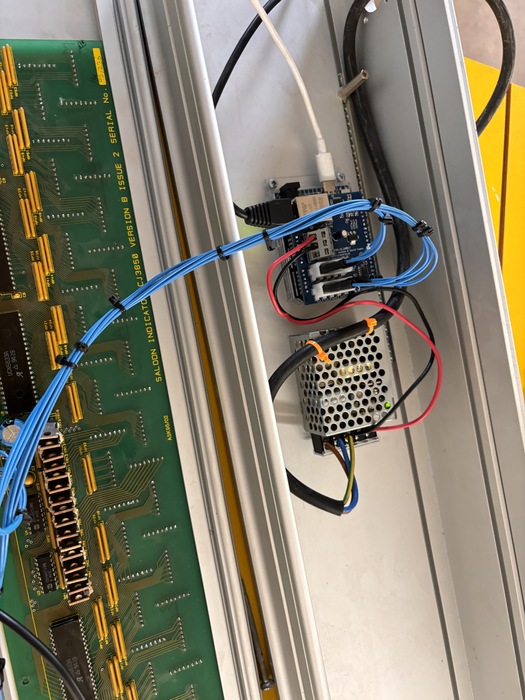
The Arduino monitors MQTT to find out the current and next booking, so I also needed to add Ethernet (it also shows Discord mesages and which doorbell is being rang). The train departure board uses an Uno R4 WiFi board, but I'd rather that was cabled too. The hackspace doesn't have an instrumentation WiFi network, so to access the instrumentation network it needs to be hooked up to a switch port on that VLAN. Daniel's version used a WizNet W5100 module but I wanted everything to be on a single shield, so I decided to turn this into my first "proper" SMD board and do something which was bound to fail.
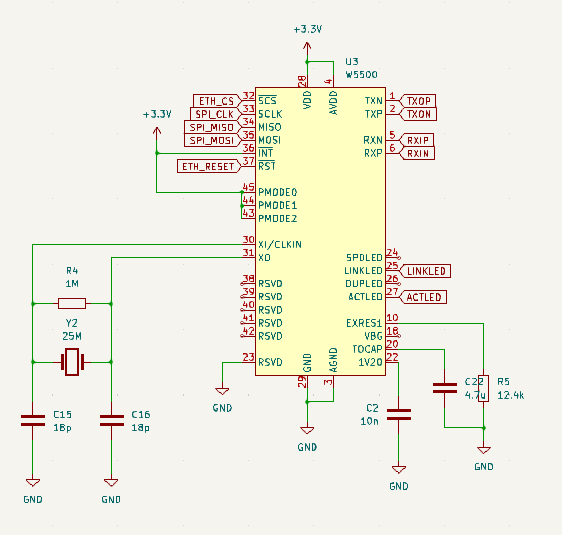
Here's a WizNet W5500 chip (slightly newer!). There's a 25MHz crystal and various bits of power filtering. The part I was more concerned about was hooking it up to the ethernet jack.
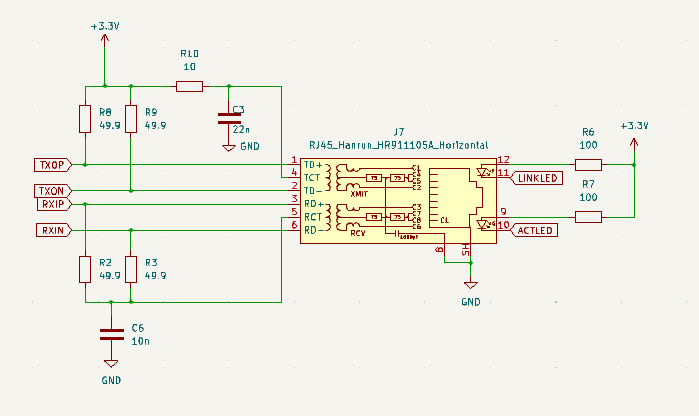
This is actually a slightly different version to what my PCB has. I based this design (based = copied) off an open source ethernet connected stepper motor controller, called ethersweep. Their design includes some small valued caps on the RX lines of the jack. During my testing, I found the signal wasn't making it through the caps and had to be removed (by which I mean, replaced with a 10 ohm resistor because that's all I had).
My board was designed to use 0603 sized components as they seemed a reasonable size to place by hand. I bought myself some fancy tweezers since all my cheap-Amazon tweezers had bent tips. I treated myself to these:
- Ideal-Tek SM108 - Based on a recommendation from Matt. They have an angled square tip, perfect for picking up 0603 sized components.
- MultiComp Pro D00334 - Picked fairly randomly because I wanted something with a sharp tip.
They were a tad expensive but I wanted to get something which would last and work well for the job. I also purchased a soldering hot plate off Amazon - fairly generic thing but gets up to temp and seemed to do the job. Anyway, let's have a bit of a photo dump from the process.
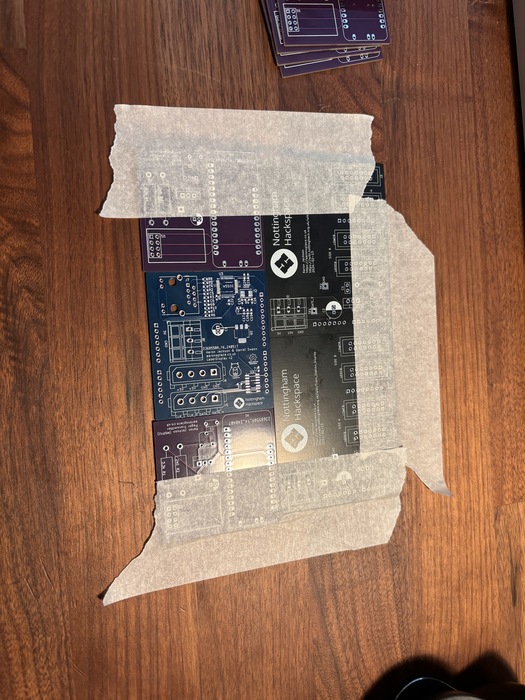
This first part shows the application of the solder paste. I cut the stencil out of mylar using the laser cutter (and made some notes about the settings I used on the wiki). The mylar worked ok but I could tell there was a bit of bleeding under the mask. A steel stencil would surely have worked better but the shipping cost was quite high for this from JLCPCB.
I had fairly minimal shorting on the WizNet package but did have to clean up some pins with flux and a soldering iron. Probably beats soldering the whole thing by hand though. The rest of the board turned out really nice!
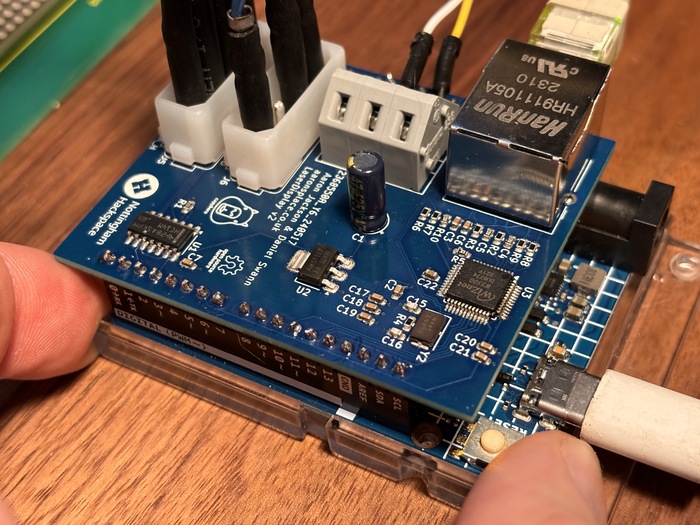
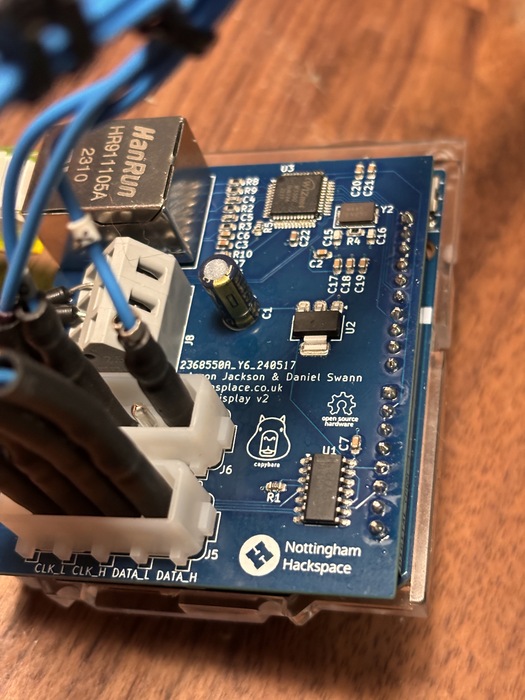
And that's the module plugged in and working!
Finally, here's the actual laser display in action. I purchased a fairly inexpensive MeanWell 5V power supply. It can supply 2 amps, which is more than enough to drive all the LEDs on this display.
Overall this was a great project and has given me so much more confidence to do other SMD boards with more complex parts. There are two other displays like this at the hackspace - they are even longer and have even more rows. It'll be nice to have one in the Studio and another in the Blue Room.
Related posts:
Wanting to leave a comment?
Comments and feedback are welcome by email (aaron@nospam-aaronsplace.co.uk).